Changelog
2025/07/07: The OpenProject installation was originally included in the Part I (server-basics) post. However, this post became too long, so OpenProject got its own post. Updated the installation and upgrade process while at it.

Motivation & Overview
Every now and then, a project comes along that’s slightly more involved than a shared to-do list can handle. When the road is long, the company varied, and the purpose evolving — clarity and structure become your quiet allies. One of the most powerful self-hostable project management software you can wield is OpenProject. Following is a glimpse into the many features of OpenProject, not the least of which is full control over your data, so even the most delicate and ambitious missions can stay on track:
- Gantt charts
- Kanban boards
- Detailed work packages with activity tracking
- User roles and team planner
- Calendar
- Forums, Wiki
- Budgets, time, and cost overviews
- Notifications
- Integration with Nextcloud (files) and GitHub/GitLab
TL;DR: It includes just about everything you could hope to find in a FOSS project management suite (browse all features here).
If that wasn’t gloomy enough for you or you need some visuals, watch OpenProject’s ~1-minute promotional introduction.
The only two caveats I see are its resource usage — which might stretch the limits of a small VPS — and the initial complexity. The feature set is broad, and while powerful, it can feel overwhelming at first. It takes a bit of time to get up to speed and might be too much overhead for simpler projects. Consider whether you truly need full-fledged project management software, or if a notes app combined with a Kanban board like Nextcloud Deck might be enough.
📦 App Info
- Logo:

- Purpose: Business-grade project management platform for planning, tracking, and collaborating on complex projects
- Deployment: Docker Compose (preferred), various other methods
🔍 Tech & Usage
- Stack: Ruby on Rails (backend), Angular (frontend), PostgreSQL, Apache/NGINX
- Memory: ~1.5–2.5 GB in idle (!)
- Disk: ~1.5 GB (Docker image + minimal setup)
- CPU: Low at idle; increases with active users and background jobs
📜 License & Community
- License: Open Source (GNU GPL v3)
- Pricing: Free self-hosted edition; paid cloud and enterprise plans
- Type: Maintained by OpenProject GmbH with active open-source community
- User Base: Rather large
Enough chatter, let’s set it up!
Installing OpenProject
We will install OpenProject the officially preferred way. You need Docker and a reverse proxy installed (here we use Nginx Proxy Manager). If you don’t know what I am talking about, the Part I (server-basics) post walks you through everything.
Step 1: Register a Subdomain
In the end, you want OpenProject served under a nice subdomain like projects.yourdomain.eu. So the first step is to register this domain with your registrar. Enter an A-record and point it to your server’s IP address. While this new subdomain is being registered, we can move on to installing OpenProject.
Step 2: Pull the Compose File
Logged into your server console? Great! The OpenProject developers maintain a Docker Compose file that defines everything OpenProject needs to run. We’ll pull it from their GitHub repository. Before running the command, check if the URL is still valid and whether a newer OpenProject version is available here.
Notice the openproject at the end of the command; it tells Git to create a directory called openproject and put all the files in there.
git clone https://github.com/opf/openproject-docker-compose.git --depth=1 --branch=stable/16 openproject- 1
- Clones the files into a new directory named openproject. Change the version in –branch=stable/16 if needed.
You will now have a new folder called openproject in your current directory. Move there with:
cd openprojectStep 3: Edit the Settings
We need to adjust some configuration files to make them work with our Nginx Proxy Manager setup. But instead of modifying the original files directly, we’ll create custom overrides. This way, if we pull the repository again to upgrade OpenProject, we won’t lose our changes.
Start by copying the example environment file to a new file called .env:
cp .env.example .env- 1
- cp is the standard copy command: first comes the source file, then the destination.
Now open the .env file with:
nano .envYou’ll see the following content. Use the annotations below to make the required changes:
##
# All environment variables defined here will only apply if you pass them
# to the OpenProject container in docker-compose.yml under x-op-app -> environment.
# For the examples here this is already the case.
#
# Please refer to our documentation to see all possible variables:
# https://www.openproject.org/docs/installation-and-operations/configuration/environment/
#
TAG=15-slim
OPENPROJECT_HTTPS=false
OPENPROJECT_HOST__NAME=localhost
PORT=127.0.0.1:8080
OPENPROJECT_RAILS__RELATIVE__URL__ROOT=
IMAP_ENABLED=false
DATABASE_URL=postgres://postgres:some-long-strong-password@db/openproject?pool=20&encoding=unicode&reconnect=true
RAILS_MIN_THREADS=4
RAILS_MAX_THREADS=16
PGDATA="/var/lib/postgresql/data"
OPDATA="/var/openproject/assets"
POSTGRES_PASSWORD=some-long-strong-password- 1
- No changes here yet; we disable HTTPS for now because it will be handled later by Nginx Proxy Manager. We’ll re-enable it afterward.
- 2
- Replace localhost with the subdomain you plan to use, e.g. openproject.yourdomain.com. This must match what you set in Nginx Proxy Manager.
- 3
- Remove the IP part (127.0.0.1:) so it reads just PORT=8080. You can change the port to something else if 8080 is already in use (e.g. 8085). This is not needed if you follow Step 3.1.
- 4
- Replace “some-long-strong-password” with a strong password. You’ll find a command below to generate one.
- 5
- If the line isn’t present, add it manually. Type “POSTGRES_PASSWORD=” followed by the same password you use above. I use it to make sure this password is indeed used, not the default one.
Save the file with CTRL + S, then exit Nano with CTRL + X.
In case you want to generate a strong password, you can use this command:
openssl rand -base64 24- 1
- Generates a pseudo-random sequence of 32 characters (uppercase, lowercase, numbers, symbols).
Notice the OPDATA= variable above? That’s where OpenProject will store uploaded files and other data. We need to make sure this directory exists, and that your user has permission to write to it:
sudo mkdir -p /var/openproject/assets
sudo chown 1000:1000 -R /var/openproject/assets- 1
- Creates the directory if it doesn’t exist.
- 2
- Sets ownership to user ID 1000, which usually corresponds to the first non-root user (i.e. your user). If you’re unsure, use id -u to get the UID of the current user.
3.1.: [Optional] Implement a Tighter Setup
Open to adding a step that makes your setup even more secure, and learning a thing or two along the way?
Cool, expand this!
Let’s take a look at the docker-compose.yml file, which defines how OpenProject runs:
networks:
  frontend:
  backend:

volumes:
  pgdata:
  opdata:

x-op-restart-policy: &restart_policy
  restart: unless-stopped
x-op-image: &image
  image: openproject/openproject:${TAG:-16-slim}
x-op-app: &app
  <<: [*image, *restart_policy]
  environment:
    OPENPROJECT_HTTPS: "${OPENPROJECT_HTTPS:-true}"
    OPENPROJECT_HOST__NAME: "${OPENPROJECT_HOST__NAME:-localhost:8080}"
    OPENPROJECT_HSTS: "${OPENPROJECT_HSTS:-true}"
    RAILS_CACHE_STORE: "memcache"
    OPENPROJECT_CACHE__MEMCACHE__SERVER: "cache:11211"
    OPENPROJECT_RAILS__RELATIVE__URL__ROOT: "${OPENPROJECT_RAILS__RELATIVE__URL__ROOT:-}"
    DATABASE_URL: "${DATABASE_URL:-postgres://postgres:p4ssw0rd@db/openproject?pool=20&encoding=unicode&reconnect=true}"
    RAILS_MIN_THREADS: ${RAILS_MIN_THREADS:-4}
    RAILS_MAX_THREADS: ${RAILS_MAX_THREADS:-16}
    # set to true to enable the email receiving feature. See ./docker/cron for more options
    IMAP_ENABLED: "${IMAP_ENABLED:-false}"
  volumes:
    - "${OPDATA:-opdata}:/var/openproject/assets"

services:
  db:
    image: postgres:13
    <<: *restart_policy
    stop_grace_period: "3s"
    volumes:
      - "${PGDATA:-pgdata}:/var/lib/postgresql/data"
    environment:
      POSTGRES_PASSWORD: ${POSTGRES_PASSWORD:-p4ssw0rd}
      POSTGRES_DB: openproject
    networks:
      - backend

  cache:
    image: memcached
    <<: *restart_policy
    networks:
      - backend

  proxy:
    build:
      context: ./proxy
      args:
        APP_HOST: web
    image: openproject/proxy
    <<: *restart_policy
    ports:
      - "${PORT:-8080}:80"
    depends_on:
      - web
    networks:
      - frontend

  web:
    <<: *app
    command: "./docker/prod/web"
    networks:
      - frontend
      - backend
    depends_on:
      - db
      - cache
      - seeder
    labels:
      - autoheal=true
    healthcheck:
      test: ["CMD", "curl", "-f", "http://localhost:8080${OPENPROJECT_RAILS__RELATIVE__URL__ROOT:-}/health_checks/default"]
      interval: 10s
      timeout: 3s
      retries: 3
      start_period: 30s

  autoheal:
    image: willfarrell/autoheal:1.2.0
    volumes:
      - "/var/run/docker.sock:/var/run/docker.sock"
    environment:
      AUTOHEAL_CONTAINER_LABEL: autoheal
      AUTOHEAL_START_PERIOD: 600
      AUTOHEAL_INTERVAL: 30

  worker:
    <<: *app
    command: "./docker/prod/worker"
    networks:
      - backend
    depends_on:
      - db
      - cache
      - seeder

  cron:
    <<: *app
    command: "./docker/prod/cron"
    networks:
      - backend
    depends_on:
      - db
      - cache
      - seeder

  seeder:
    <<: *app
    command: "./docker/prod/seeder"
    restart: on-failure
    networks:
      - backend
Phew, that’s a pretty advanced setup already! Multiple containers, volumes, and two Docker networks. But let’s focus on two things: the defined networks and the port exposure in the proxy service.
At the top, the file defines two Docker networks: frontend and backend. These control which containers can talk to each other. In this setup, background services like the database are on the backend, while user-facing services like the web interface and proxy are on the frontend. This separation reduces the attack surface and improves maintainability — only containers that need to talk to each other can do so.
Now look at the proxy container. It’s exposing port 8080 to the host system. That’s already fairly secure, but we can tighten it up further.
Instead of exposing port 8080 to the host, we can connect the proxy container to the same Docker network used by our reverse proxy (Nginx Proxy Manager). That way, NPM can communicate directly with the OpenProject proxy, without exposing extra ports to the host. This also means we don’t have to manually manage port numbers.
But again, we don’t want to edit docker-compose.yml directly, because updates might overwrite our changes. Instead, Docker provides a neat way to override parts of a Compose file using docker-compose.override.yml. Let’s use that to apply our adjustments:
Create and enter the file:
sudo nano docker-compose.override.ymlPaste the following:
services:
proxy:
networks:
- npm-net
ports: []
networks:
npm-net:
external: true- 1
- We’re attaching the proxy container to an additional network (npm-net); the same one used by Nginx Proxy Manager.
- 2
- We clear the ports section entirely. This prevents Docker from exposing port 8080 to the host.
- 3
- We declare that npm-net is an external network (i.e. it must already exist).
That’s it. When you start the stack in the next step, Docker will automatically merge this override into the main config.
Step 4: Start Your OpenProject Instance
You are ready to launch:
docker compose up -d --build --pull always && docker compose logs -f- 1
- The && docker compose logs -f part tells Docker to stream the logs right after launching. It’s helpful for spotting issues early. You can stay and watch the logs, or move on to the next step — press Ctrl + C to exit log view.
The installation takes around five minutes. Enough time to configure Nginx Proxy Manager.
Step 5: Add a New Entry in Nginx Proxy Manager
Go to your Nginx Proxy Manager interface at nproxy.yourdomain.com. Add a new proxy host.
- Domain name: Enter the same domain you set for OPENPROJECT_HOST_NAME in your .env file.
- Forward hostname / IP: Enter
proxyif you followed step 3.1 (because NPM is connected to the same Docker network). Otherwise, enter your server’s local IP (127.0.0.1). - Forward port:
- If you followed step 3.1: use port 80.
- Otherwise: use port 8080, or whichever port you chose in
.env.
Enable Block Common Exploits and Websocket Support.
Now test your setup. Open your browser and visit your OpenProject domain (e.g. http://openproject.yourdomain.com). You should see the login screen or setup wizard.
If it loads correctly, go back to Nginx Proxy Manager and edit the OpenProject entry. Go to the SSL tab, request a certificate, enable Force SSL, HTTP/2 Support, and HSTS. Agree to the terms and click save.
Step 6: Finalize Your Setup
Navigate to openproject.yourdomain.com again and check if it redirects to HTTPS.
Log in to OpenProject using the default admin credentials (both username and password: admin). Be sure to change these credentials right away and store them somewhere secure.
Welcome to your own powerful project management suite! Nice work.
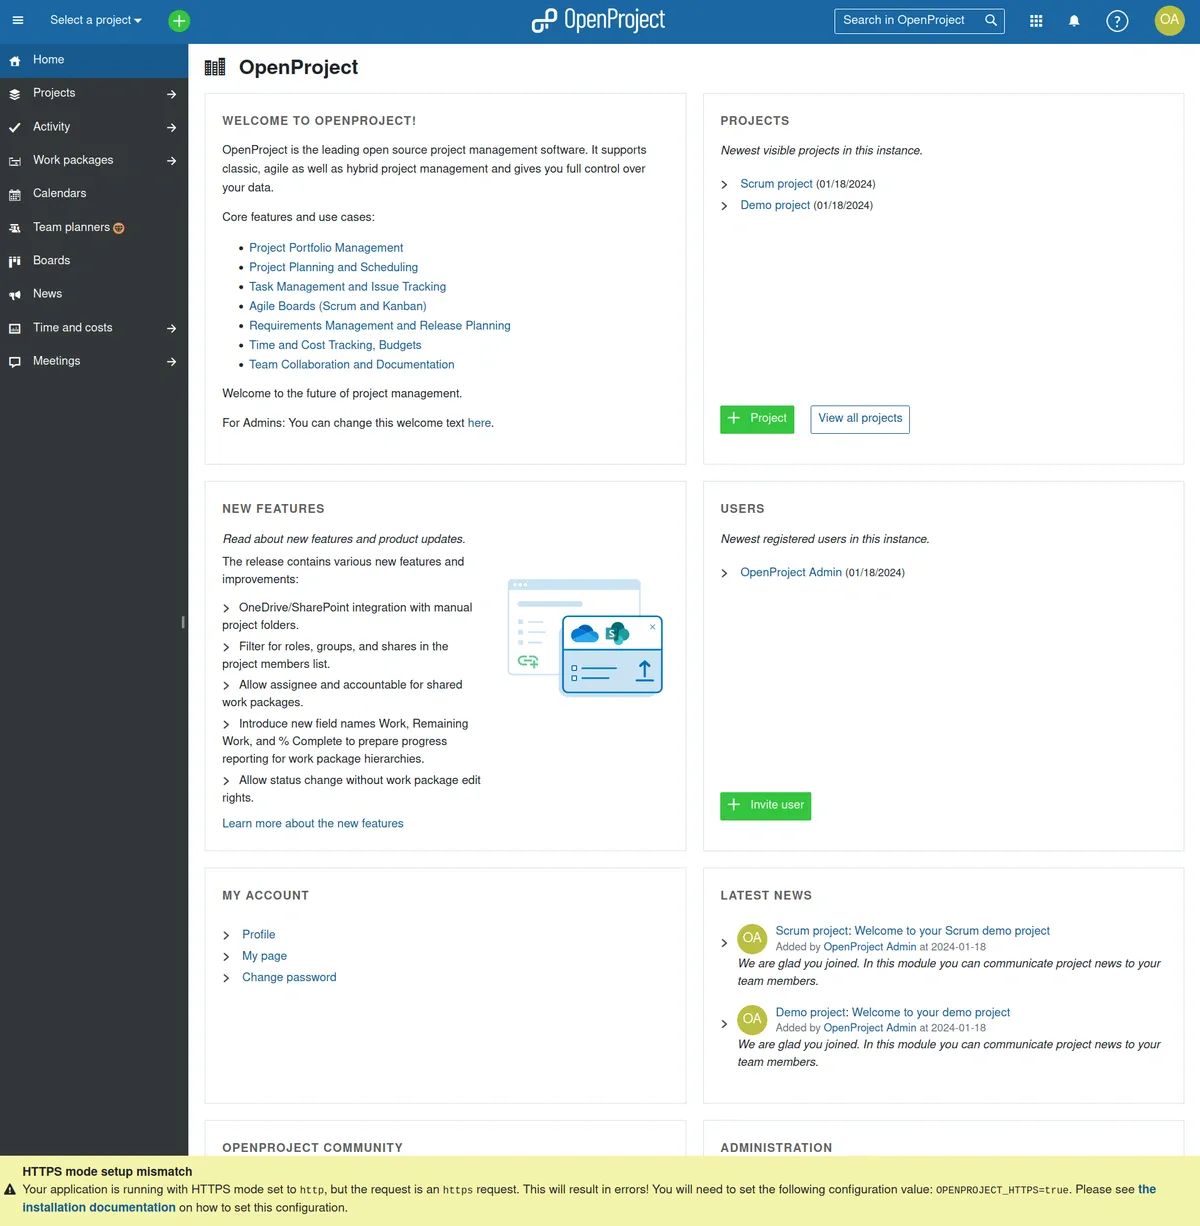
You’ll probably see a yellow warning about an “HTTPS mode setup mismatch” at the bottom of the page. That happens because we disabled HTTPS in the .env file, but are now accessing the site over an encrypted connection.
Let’s fix that. On your server, open the .env file again:
nano .envChange OPENPROJECT_HTTPS=false to =true. That’s it. Save (CTRL + S) and exit (CTRL + X). Run:
docker compose up -d- 1
- Updates your running stack with the new HTTPS setting.
That’s it. Happy exploring, and thank you for following along — dot by dot.
If you use Nextcloud, GitHub, or GitLab, don’t forget that you can integrate them with OpenProject.
Upgrading OpenProject
When OpenProject releases a new version, upgrading is straightforward. Just follow their official upgrade guide.
It includes making a backup. It is a good idea before upgrading, but also good practice on its own.
Giving Back
Great product, friendly FOSS attitude — chapeau to the OpenProject team! If you want to give back, here are a few ideas:
Star the project on GitHub
Promote OpenProject, especially in enterprise settings
Join discussions or contribute to the codebase
Of course, tossing something evil into the appropriate volcano is also helpful.