Changelog
2025/06/08: Included a quick look; updated the compose file for better Docker networking; updated the UI screenshot.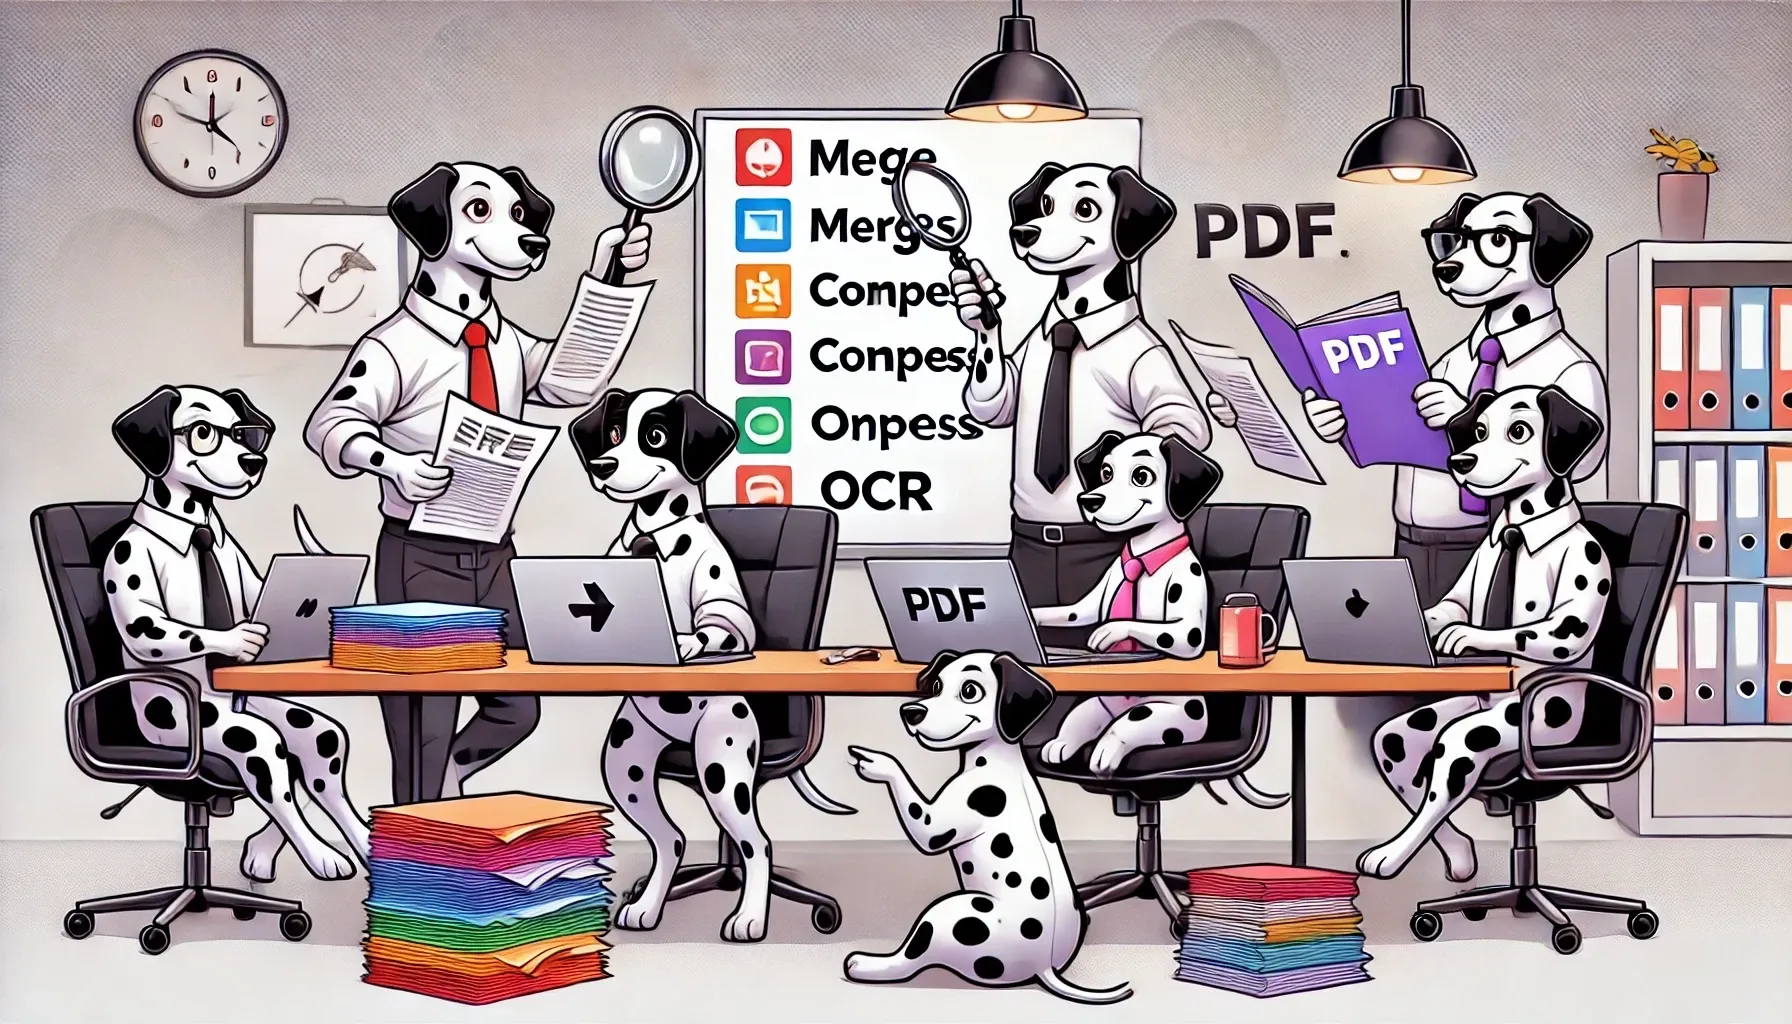
Motivation
Did you ever upload PDF files to a random website after searching “how to merge, convert, or compress a PDF” just to get the job done? Were those files kind of sensitive, like work contracts, government documents, or even your scanned passport? 😬 It’s crazy, and honestly, we really shouldn’t, even if the site promises to delete your files within an hour.
Here’s the easy fix: host your own powerful PDF management suite! With Stirling-PDF, you’ll have access to a comprehensive set of features, including conversion, OCR, compression, redaction, merging, page and password management, and much more. You can even create pipelines to automate multiple tasks in sequence. As a bonus, you can share your instance with your family and friends to enhance their privacy. There is also a Desktop app available, if you don’t need a hosted service.
📦 App Info
- Logo:

- Purpose: A self-hosted or Desktop PDF processing platform for merging, splitting, compressing, converting, and editing PDFs
- Deployment: Docker Compose (preferred), Standalone Binary, (Desktop App available)
🔍 Tech & Usage
- Stack: Java (backend), HTML & JavaScript (frontend)
- Memory: ~550 MB in idle
- Disk: ~810 MB (Docker image size)
- CPU: ~0.3 % of 4 vCPUs (idle, spikes while processing PDFs)
📜 License & Community
- License: Open Source (MIT)
- Pricing: Free; paid enterprise edition
- Type: Community-driven, with commercial backing (Stirling PDF Inc.)
- User Base: Rather large, number one open source PDF software
Installation
Step 1: Register a Subdomain
Log in to your domain registrar and add an A-record pointing to your server’s IP address (e.g., pdf.yourdomain.com). If you’re unfamiliar with this process, check out this guide.
Step 2: Create a New Directory
On your Linux server, create a directory for Stirling-PDF:
mkdir stirling-pdf
cd stirling-pdf
Step 3: Create the Docker Compose File
First, create the Docker Compose file:
sudo nano docker-compose.ymlThen, populate the file with the following content. Look at the annotations for things you might want to change.
services:
stirling-pdf:
image: docker.stirlingpdf.com/stirlingtools/stirling-pdf:latest
restart: unless-stopped
expose
- '8080'
volumes:
- ./StirlingPDF/trainingData:/usr/share/tessdata
- ./StirlingPDF/extraConfigs:/configs
- ./StirlingPDF/customFiles:/customFiles/
- ./StirlingPDF/logs:/logs/
- ./StirlingPDF/pipeline:/pipeline/
environment:
- UI_APP_NAME=Stirling PDF
- UI_HOME_DESCRIPTION=Your locally hosted one-stop-shop for all your PDF needs.
- UI_APP_NAVBAR_NAME=Stirling PDF
- SYSTEM_DEFAULTLOCALE=en-US
- DOCKER_ENABLE_SECURITY=true
- SECURITY_ENABLELOGIN=true
- SECURITY_CSRFDISABLED=false
- SECURITY_LOGINATTEMPTCOUNT=5
- SECURITY_LOGINRESETTIMEMINUTES=120
- SYSTEM_GOOGLEVISIBILITY=false
networks:
- npmnet
networks:
npmnet:
external: true- 1
- The :latest tag pulls the standard version (~780 MB). For a smaller version (~270 MB) with fewer features, use :latest-ultra-lite. For a larger version (~1 GB) with additional fonts and a pre-bundled Java libraries (security) version, use :latest-fat.
- 2
- I added a restart-policy.
- 3
- We use ‘expose’ to just expose the internal port to an existing docker network; no exposure to the host needed, since we use a reverse proxy.
- 4
- Customize the app name (UI_APP_NAME), navbar name (UI_APP_NAVBAR_NAME), and description (UI_HOME_DESCRIPTION) to your liking.
- 5
- Set the default system language. Refer to the list of supported languages. There also will be a dropdown in the UI later to set the language.
- 6
- To disable the login feature, set DOCKER_ENABLE_SECURITY and SECURITY_ENABLELOGIN to false.
- 7
- Define the maximum number of failed login attempts before an account is temporarily locked.
- 8
- Set the lockout period for temporarily blocked accounts.
- 9
- You can disable visibility (via robots.txt). There is no need for crawlers to visit private instances with login.
- 10
- Attach the app to an existing network. Your reverse proxy must also be on this network.
- 11
- Specify that the network is already existing. I defined it my Nginx Proxy Manager compose file.
Stirling-PDF offers other specialized settings, such as enabling an information API or installing specific language fonts using the LANGS variable.
Step 4: Start the App
docker compose up -dOptional Step 4.1: Install Further OCR Languages
The OCR (Optical Character Recognition) feature only works for English by default. If you need other languages, you will need to download the appropriate OCR training data.
First, move to the automatically created directory “training data”:
cd StirlingPDF
cd trainingData/
Visit the Tesseract OCR (fast) repo. Search for the language you want. Sometimes there are different versions for the same language, e.g. ‘deu.traineddata’ (works with modern German text) and ‘deu_latf.traineddata’ (works with old German “Fraktur” text).
Decided on a file you want? Use wget + file link to download it to your trainingdata/ directory:
sudo wget https://github.com/tesseract-ocr/tessdata_fast/blob/main/deu.traineddataRepeat this process for as many files as you need.
Restart the app:
docker compose down
docker compose up -d
Step 5: Configure the Reverse Proxy
To ensure a secure setup, you’ll need a reverse proxy to act as a gateway with SSL encryption. I recommend using Nginx Proxy Manager (NPM) for its user-friendly interface: Log into your NPM interface, add a new proxy host using the service name ‘stirling-pdf’ and port 8080. Enable websockets, exploit protection, and SSL.
Step 6: Test Your Setup
To confirm everything is working, navigate to pdf.yourdomain.com. You should see the login interface. Use the default credentials:
Username:
adminPassword:
stirling
After logging in, you’ll be prompted to change the password. You can also update the username in the settings and find an option to add additional users.
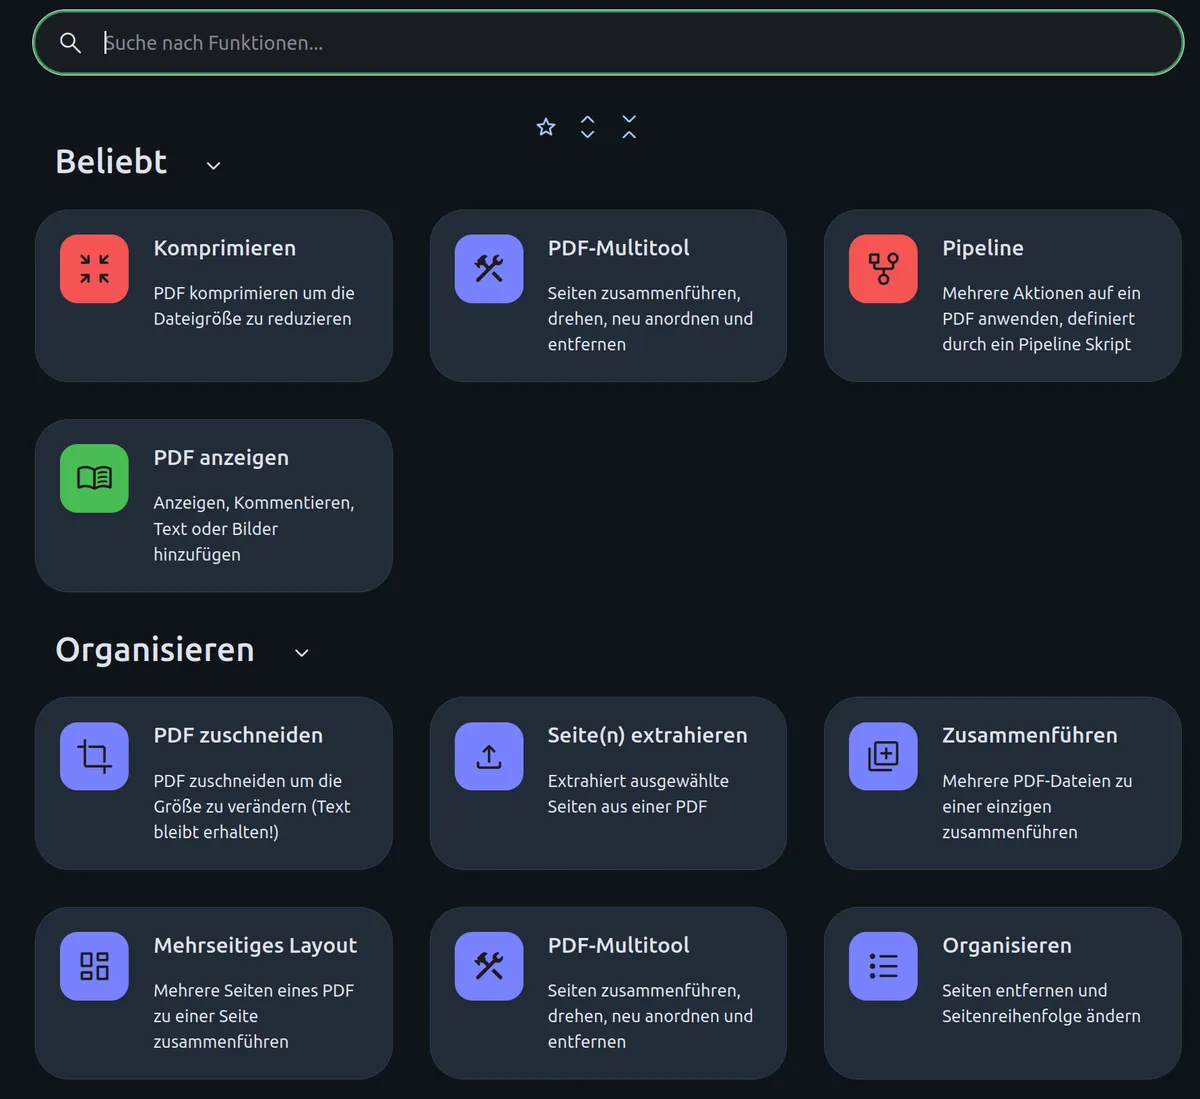
See how the UI looks like:
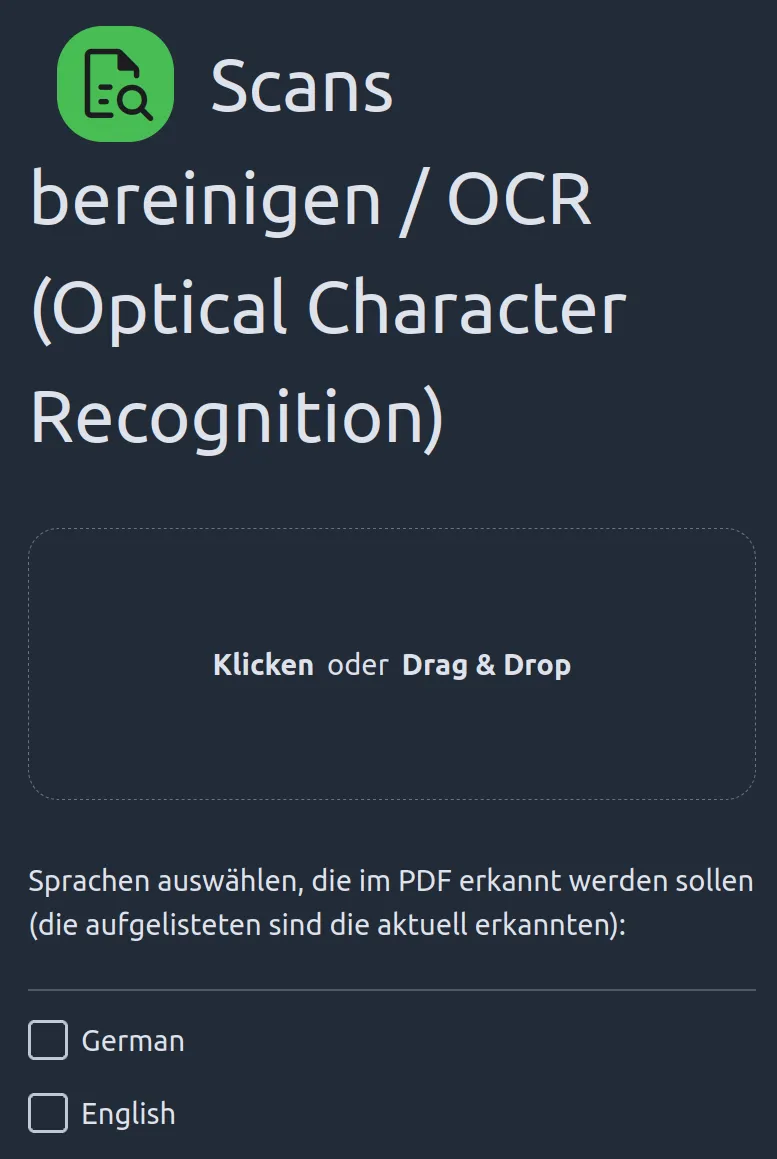
If you downloaded additional OCR training data, you can verify their availability: Type “OCR” into the search bar and click on the OCR menu when it appears. Look for additional language options. For example, if you added German training data, you should see a tickbox for German alongside English:
That’s it for this tutorial - have fun exploring all the features!
Giving Back
What a comprehensive PDF toolbox! If you like it, consider showing your support by giving the project a ⭐ on GitHub. You can also contribute in various ways.
While Stirling-PDF is a company offering paid subscriptions for businesses - providing perks like tech support, prioritized feature requests, and advanced login procedures - all core PDF features are fully included in the free, self-hosted version. Cool!