Changelog
2025/06/08: Included a quick look; updated the compose file for better Docker networking
Motivation
Why host your own link shortener and QR code generator when there are many free options, like Bit.ly? Here’s why:
Privacy compliance. No need to worry about third-party data handling, ideal for research and GDPR compliance.
Better functionalities than free plans. No usage limits or features locked behind paywalls, and no risk of losing access if free tier policies change.
Truly custom links. Use any domain you own, provide links with style and professionalism.
Free and Open Source. Good documentation and community support.
Features of Shlink
There’s quite the list, take a look at Shlink’s feature page. A few highlights include:
URL shortening and QR code generation
Visit stats with location and referrer data
URL access limits by date or visit count
Support for multiple domains under one Shlink instance
Dynamic redirects, such as directing users to language-specific pages
Emoji support
Email tracking
For a hands-on introduction, visit the Shlink webpage, or watch this video by DB Tech. Note that a QR code generator interface is coming soon, making it easier to customize QR codes.
📦 App Info
- Logo:

- Purpose: A self-hosted URL shortener with analytics and QR code support
- Deployment: Docker Compose (backend + database + optional web client), standalone binaries
🔍 Tech & Usage
- Stack: PHP, React (web client), PostgreSQL/MySQL
- Memory: ~450 MB idle (combined backend + database + web client)
- Disk: ~400 MB combined
- CPU: Minimal
📜 License & Community
- License: Open Source (MIT)
- Pricing: Free
- Type: Actively developed by Alejandro Celaya, community-supported
- User Base: Medium-sized
Not bad, right? Let’s set it up.
Shlink Setup
Step 0: Basics
This guide assumes you’ve already set up an Ubuntu VPS, logged in, and installed Docker and Nginx Proxy Manager. Check out previous posts for more information.
Step 1: Get Your GeoLite2 Key
To track from where people access your links, Shlink makes use of the GeoLite2 API from Maxmind. It’s free. Sign up and log in. On the left panel, click on ‘Manage License Keys’:
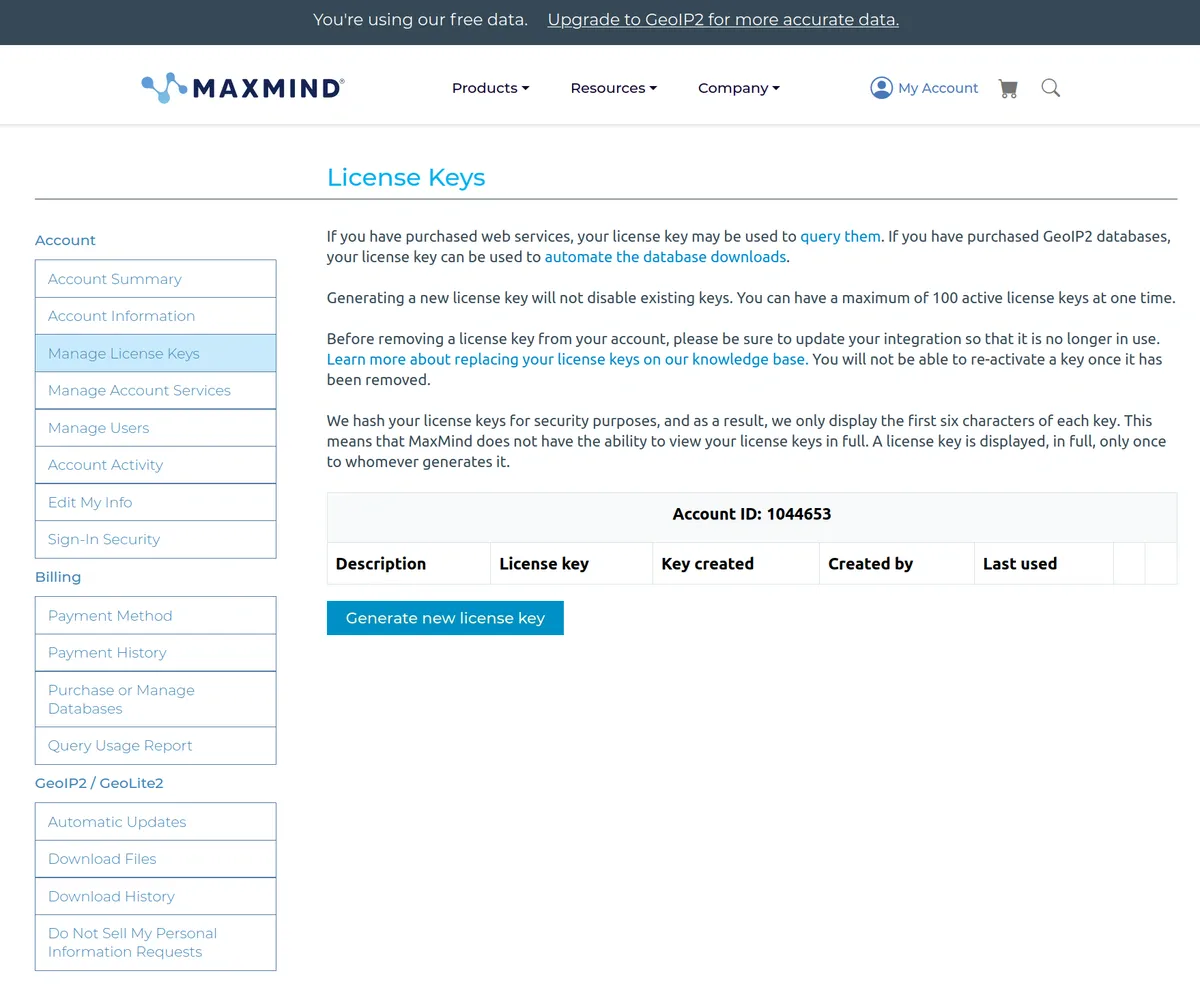
Click on ‘Generate New Key’, name it (e.g. “shlink”), and save the key - it will only appear once.
Step 2: Create the Compose File
Create a new directory for Shlink:
mkdir shlink
cd shlink
Create a ‘docker-compose.yml’ file:
sudo nano docker-compose.ymlShlink uses three containers: the backend, a database, and a web client (optional). Alternatively, you can use https://app.shlink.io/, a browser-based app for accessing Shlink instances. In this guide, we’ll set up a self-hosted web client.
Note that you can’t host the web client under the same domain that you use to shorten URLs. For example, hosting your web client at ‘shorturl.com’ while using that domain to shorten your URLs won’t work. At the very least, you need to use a path like ‘shorturl.com/admin’ or a subdomain (‘admin.shorturl.com’) for one of them. Here we will use a subdomain of another domain for the web client (‘shlink.yourdomain.com’), and ‘shorturl.com’ as our shortening domain.
Paste the following into the compose file, with annotations for configuration details:
services:
shlink:
image: shlinkio/shlink:stable
restart: always
container_name: shlink-backend
environment:
- TZ=Europe/Berlin
- DEFAULT_DOMAIN=shorturl.com
- IS_HTTPS_ENABLED=true
- GEOLITE_LICENSE_KEY=<yourgeolitekey>
- SHORT_URL_TRAILING_SLASH=true
- ENABLE_CORS=true
- CORS_ALLOWED_ORIGINS=https://shlink.yourdomain.com
- DB_DRIVER=maria
- DB_USER=shlink
- DB_NAME=shlink
- DB_PASSWORD=password
- DB_HOST=database
depends_on:
- database
expose:
- 8080
networks:
- npmnet
database:
image: mariadb:latest
restart: always
container_name: shlink-database
environment:
- MARIADB_ROOT_PASSWORD=password
- MARIADB_DATABASE=shlink
- MARIADB_USER=shlink
- MARIADB_PASSWORD=password
volumes:
- ${PWD}/db:/var/lib/mysql
networks:
- npmnet
shlink-web-client:
image: shlinkio/shlink-web-client
restart: always
container_name: shlink-gui
volumes:
- ${PWD}/my-config/:/usr/share/nginx/html/conf.d/
depends_on:
- shlink
expose:
- 8080
networks:
npmnet:
external: true- 1
- There are three containers in total: The backend, the database, and the web client.
- 2
- Change to your timezone (e.g., ‘Europe/Berlin’). Find options on Wikipedia’s list.
- 3
- Enter the default domain for Shlink. You must own this domain.
- 4
- Enable HTTPS. Using HTTP can lead to errors when accessing your Shlink instance in your browser.
- 5
- Paste your Geolite2 license key here.
- 6
- Enabled by default; this is just to be explicit.
- 7
- Specify the domain where your Shlink GUI will be hosted. This ensures that your browser will not block requests from your GUI domain to your shorturl.com domain. CORS is a browser security feature that restricts requests to a domain other than the one that served the web page.
- 8
- Enter a strong password here. You can generate one using ‘head /dev/urandom | tr -dc A-Za-z0-9 | head -c 32 ; echo’’ ’.
- 9
- We only expose the internal port to the existing Docker network (see below).
- 10
- Here we use MariaDB as the image for the database. You can also use MySQL, PostgreSQL or Microsoft SQL Server. If you do that, make sure to change the ‘DB_DRIVER’ setting above to mysql, postgres, or mssql.
- 11
- Enter a strong password.
- 12
- Enter a strong password.
- 13
- ‘PWD’ automatically adds the path from the current directory, so you can leave this as is.
- 14
- ‘PWD’ automatically adds the path from the current directory, so you can leave this as is.
- 15
- Once again, we only expose the internal port to the Docker network.
- 16
- Specify that the Docker network we attached the services to is already existing. Make sure it does, and that your reverse proxy is on this network.
To see more configurations, visit Shlink’s documentation.
After editing, save and exit. Start your containers with:
docker compose up -dStep 3: Set the Domain
While containers start, add two A-records in your domain registrar for the domains that Shlink will use. In our case this would be one A-record with host “@” and the server IP for ‘shorturl.com’ and one A-record with host “shlink” and the server IP for ‘shlink.yourdomain.com’. Once the A-records are set up, use Nginx Proxy Manager to add new proxy hosts. One for “shorturl.com” using the backend service name (‘shlink’) as the host and port 8080; and one for “shlink.yourdomain.com” with the web service name (‘shlink-web-client’) and port 8080. Since we are using https, be sure to get SSL certificates for both proxy hosts.
Step 4: Shlink Server Setup
Go to ‘shlink.yourdomain.com’, where you’ll be prompted to create a new server:
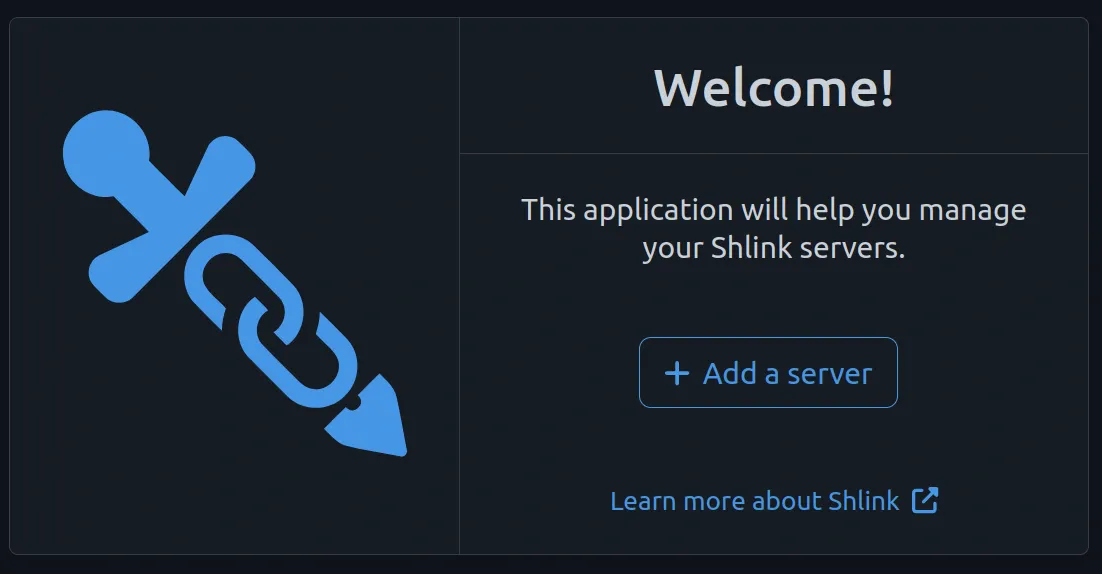
Enter a name, your link URL (make sure to include https:// if you enabled it), and an API key. The key is needed for the communication between the frontend and the backend.

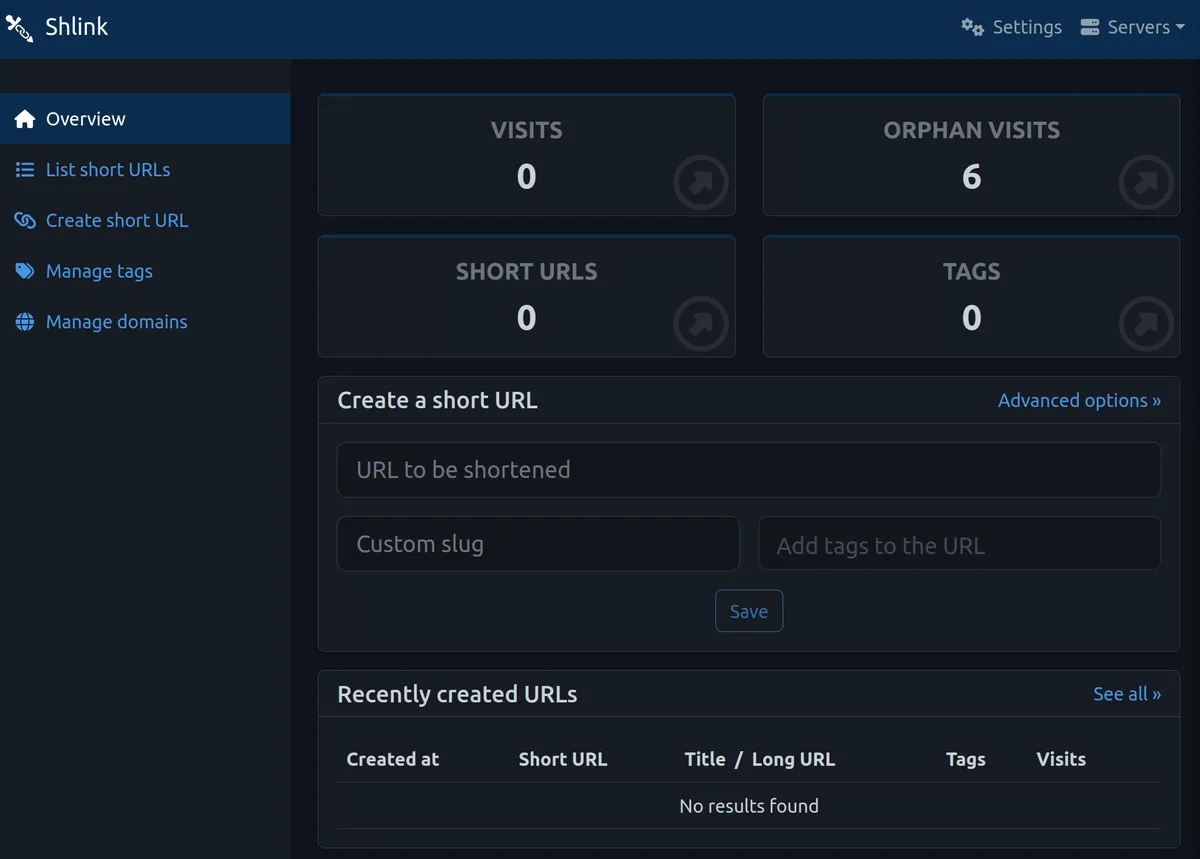
You can generate a key by entering the following in your server console:
docker exec -it shlink-backend shlink api-key:generateCopy and paste the generated key. This should get you to your very own Shlink server GUI, which looks like this:
For extra security, you can set up basic password protection for the web GUI. In Nginx Proxy Manager, go to “Access Lists”:

Create a list named (e.g.”Shlink Access”) and enable “Satisfy Any”:
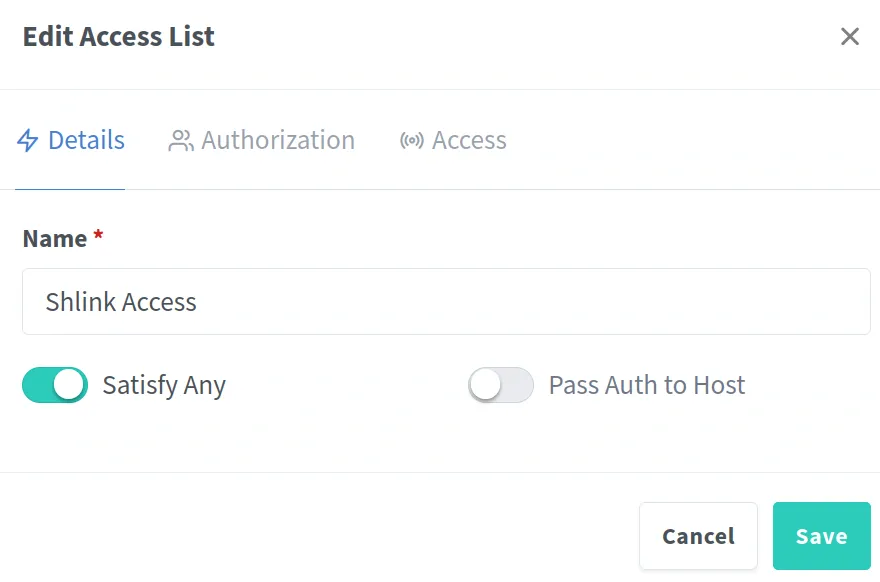
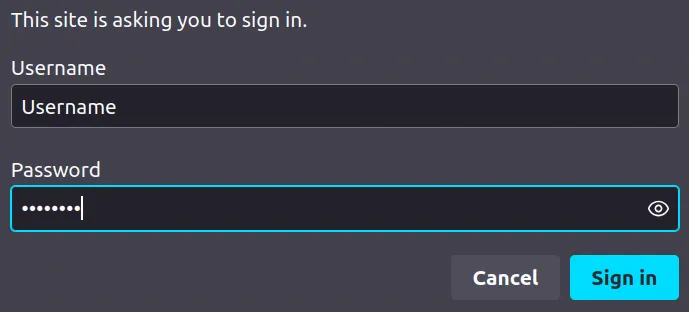
In the “Authorization” tab, set a username and password, then save. Now use this access list in your ‘shlink.yourdomain.com’ proxy host record. If you reload your Shlink webpage, it should force you to enter the credentials:
Please note that the Shlink web client saves your shortener info via cookies. If you delete these cookies, you will need to reenter your API key to see your stats again. Don’t worry, though; all your data is safe. Thank you for following along!
Giving Back
Alejandro Celaya develops Shlink in his spare time, and generally likes to contribute to open-source software 👏 You can support his work via GitHub sponsors or donate through PayPal (info at Shlink.io). The webpage also lists his social media accounts (BlueSky, Mastodon, GitHub), if you want to get in touch.